JOE RUCK PAINTINGS & SCULPTURE
Painting with a brayer: A simple step-by-step tutorial
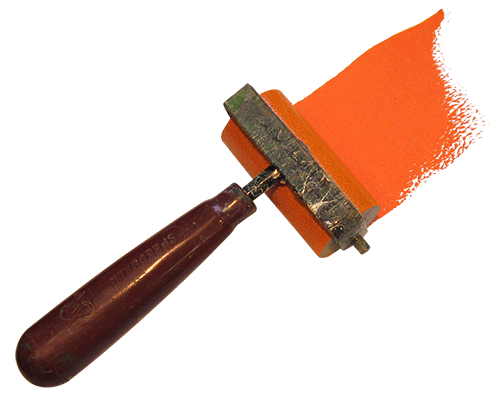
Brayers and paints
Painting with a brayer is fundamentally the same as painting with a brush. The main difference is a brayer or “roller” is used to apply the paint.
Arranged on a white acrylic palette are the tools and the paints I use. I prefer the Winsor & Newton Griffin Alkyd oil paints because they dry more quickly than traditional oils, about one day. This works well with the brayer technique since many strokes are layered one on top of the other and previous layers must be dry before applying new paint.
I have found a simple palette of 5 colors plus white works best for me. My color palette consists of Windsor Yellow, French Ultramarine Blue, Alizarin Crimson, Windsor Red, Phthalo Green and Titanium White. The less colors to choose from the easier it becomes to duplicate and revise previous color mixes.
I paint on wrap-around canvas and display the paintings without frames.
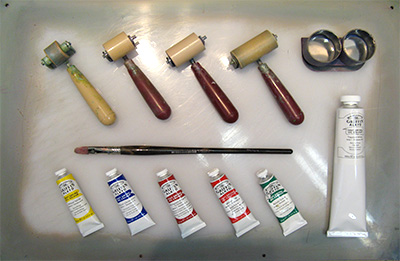
The Speedball rubber brayers I use range in size from a custom cut ¾" roller to a standard 2-½". The filbert paint brush is used for sketching in the preliminary drawing.
Step 1 – Sketching in the composition
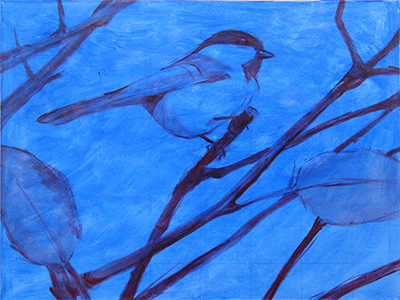
I always start by applying a thin wash of paint to tint the canvas. Usually a complementary color to the finished piece is chosen. For instance if the finished painting will be made up of predominantly warm yellows and oranges I will choose a blue or a purple for the background tone. The reason behind this is because fragments of the underpainted color will show through in the finished work creating an exciting color vibration between complementary colors. For a painting that showcases the greens of summer a red or orange background tone works well.
Next, I sketch in the subject with a brush using paint thinned with odorless mineral spirits. I often grid the reference photo and canvas to help me draw more accurately. If I’m working from a live model or outdoors a grid is not used.
Step 2 – Begin to roll
I squeeze a dollop of each of the colors along the left side of my palette and place the white along the top edge towards the middle. After selecting a brayer I dab it into a paint color and roll it onto the palette. Then another color is dabbed and mixed with the previous color by rolling back and forth, up and down. This process is repeated until the desired hue is achieved. I never add any mineral spirits when using the brayer because it causes the paint to be too slippery.
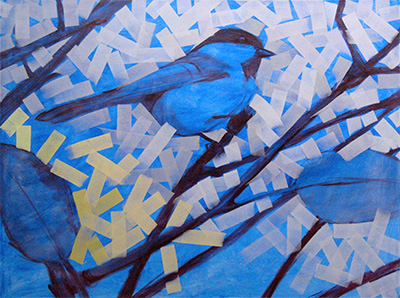
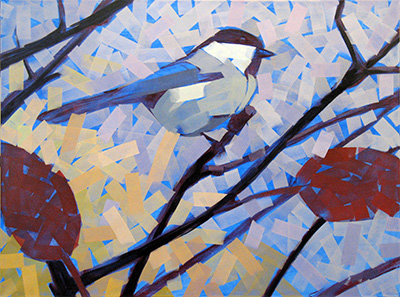
Working randomly I build a base of strokes that will be the foundation for subsequent layers. After each session the paint needs to dry for a day before additional strokes can be rolled on top.
Try not to be too concerned with defining the subject at this early stage. Let the strokes break the edges of the drawing, for this looseness adds to the beauty of the finished painting.
Step 3 – Layering strokes
Continue applying strokes by layering new paint on top of the dried paint from the previous days work. Wet paint can usually be rolled over one time but the thicker the paint layer the messier the strokes become. I like crisp edged strokes therefore I try not to roll over wet paint too often.
At this stage I establish the lightest and darkest areas of the painting. This helps me determine where all the remaining tone values have to fall in relation to the lightest and the darkest values.
I am conscious of allowing the blue underpainting to show through so I try not to completely cover the background wash with brayer strokes. Varying the pressure on the brayer adds interest. Some strokes can be painted boldly while others can just caress the canvas for a transparent effect.
Step 4 – Finishing the painting
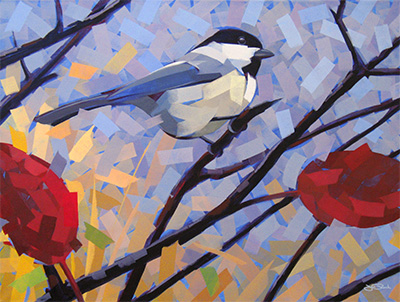
In the final phase of this painting I tilt the brayer on its edge and paint a suggestion of prairie grass leaves in the background. I then load the brayer with a generous amount of purple and dab this color onto the tree limbs. A few random green strokes have been applied to add sparkle to the grass. By tilting the brayer at the beginning and ending of these strokes a dynamic effect is achieved.
I use a small brush for the chickadee’s eye and beak but since this is essentially a large-stroke painting I try not to over-detail the work.
I would rather the painting be a little unfinished than overworked so I stop at this point and add my signature.
Since the painting style is fairly contemporary and the strokes have been carried around the sides of the canvas frames are not needed.
Copyright © 2025 Joe Ruck, All Rights Reserved